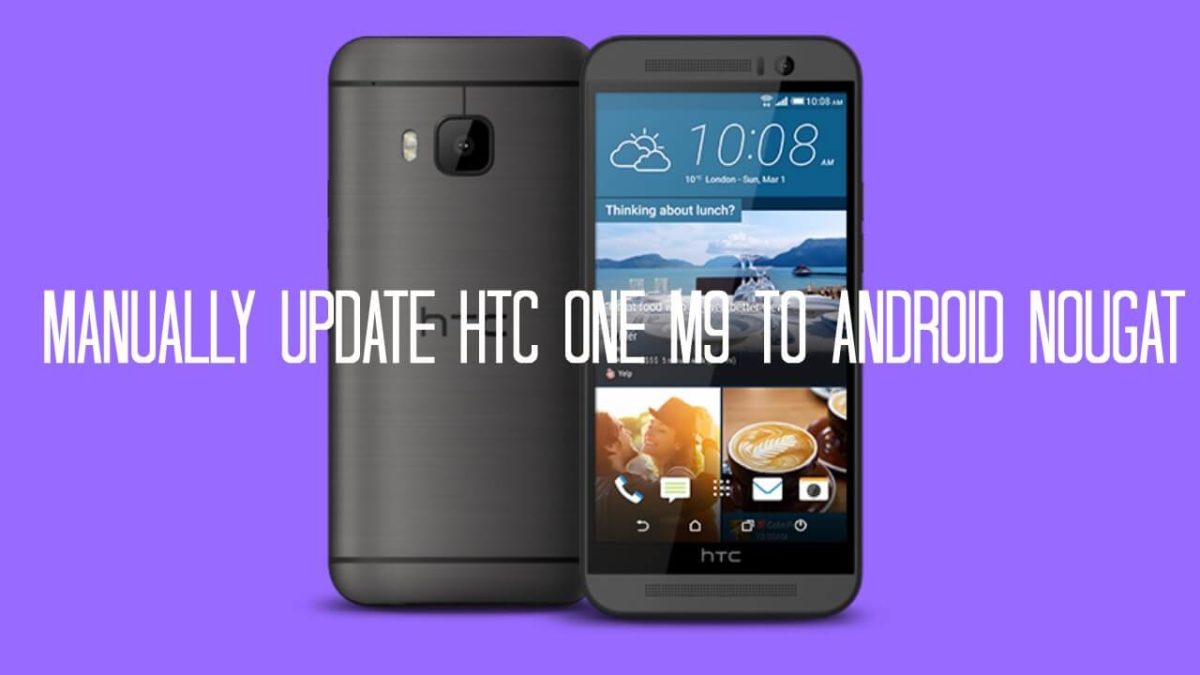
Htc has already updated its latest devices to official Android Nougat.Now we have a great news for HTC One M9 users.HTC has started rolling out Official Android 7.0 Nougat Update for Htc M9 via OTA.The Update is available in some regions.You can manually check for the OTA Update via settings on your device.Go to Settings > About Phone > Software Update Many users are reporting that there is no updates on their devices.If you are one of them, then you are at the right place.We have the Htc One M9 Nougat OTA and full Nougat Firmware for HTC One M9. The latest Nougat RUU firmware for HTC One M9 is not available now but will be available soon.But We are sharing a simple guide to Manually Update HTC One M9 To Android Nougat
IMPORTANT READ:
Make sure there is at least 60% battery left on your smartphone before begin. Make sure you at least 2GB of free space on your device This process is going to wipe data of your device.We recommend you taking backup of important apps and data.Guide How to Backup Important Data On Android (Non rooted users)
WARNING:
rootmygalaxy.net will not be held responsible for any kind of damage occurred to your Htc One M9 while following this tutorial.Do it at your own risk.
Download Android Nougat OTA and RUU File for HTC One M9
HTC USB Drivers (Important) Download Nougat OTA Zip (v4.14.617.6) – Official / Mirror (Can be flashed over v3.35.617.31) (You can flash this over v3.35.617.31) Full Nougat RUU file for HTC One M9 (Currently not available)
Steps To Manually Update HTC One M9 To Android Nougat 7.0
Enable ‘USB debugging’ On your device. Download the HTC One M9 Nougat OTA file from download section above and save it in your phone’s storage. Now Connect your phone to Computer using provided USB and boot your HTC One M9 into Download mode by using below command
or you can manually boot into recovery mode [icon name=”hand-o-down” class=”” unprefixed_class=””]
From recovery menu choose ” Install update from phone storage “ Then select the downloaded OTA file Once the installation is completed, reboot your device Done!
If you have any question related to this post, feel free to leave that in the c0mment section 🙂
